

I was looking back at all the crocheted crafts I've done and given away and I've come to realise that I've never made anything for myself. So with 6 balls of yarns I decided to make up a laptop sleeve for my baby macbook (That's my Christmas gift last year from my dear hubby!) There will not be any charts or specific measurements since laptops come in many sizes and thickness, you'd have to figure it out like I did. I have the basic concept figured out, the rest is up to you! LOL!
 For this laptop sleeve I used 6 balls of acryllic yarns (3 shades of pink x 2 sets). I wanted the sleeve thick so I combined the 3 shades of pink strands together. That's how you get the variegated shade.
 Your basic chain is very important. To measure the width of your base, you have to single chain 6 chain stitches shorter than the width of your laptop. That way, when you add the single crochet at the ends to build the rounds on your single chain, the fit will be just nice and snug.
  Close up of the round of single crochet on the last chain. Instead of the usual 6 single crochet on a chain to turn your stitches, I use only 4. This reduces the bulk on the end to create a slightly smaller base.
 Building your rows. Periodically test the fit by sliding your base onto your laptop to test the fit. If you find it loose, you may have to undo all your stitches and reduce the chains when you build the base again. I did that a few times, so remember the first rule : THE BASIC CHAIN HAS TO BE 6 CHAINS SHORTER THAN THE LAPTOP WIDTH!
 After creating the rows of single and nearing the end of the mouth of the sleeve I extended only one side of the sleeve to be folded over.
 Adding rows to the fold. Keep adding rows until you are able to cover the whole laptop and some over. Cut and secure yarn once you have the desired length.
 Start a row of Single crochet on the edges starting from one end of the cover to the other end.
 This is how the cover should look like before we slip stitch them together.
 Close up of the cover. Cut yarn and secure.
 IMPORTANT TIP : Invert the whole thing before you slip stitch the cover. This method will hide the edges on the inside and will eliminate pointed corners. (You can opt to handsew this part too.)
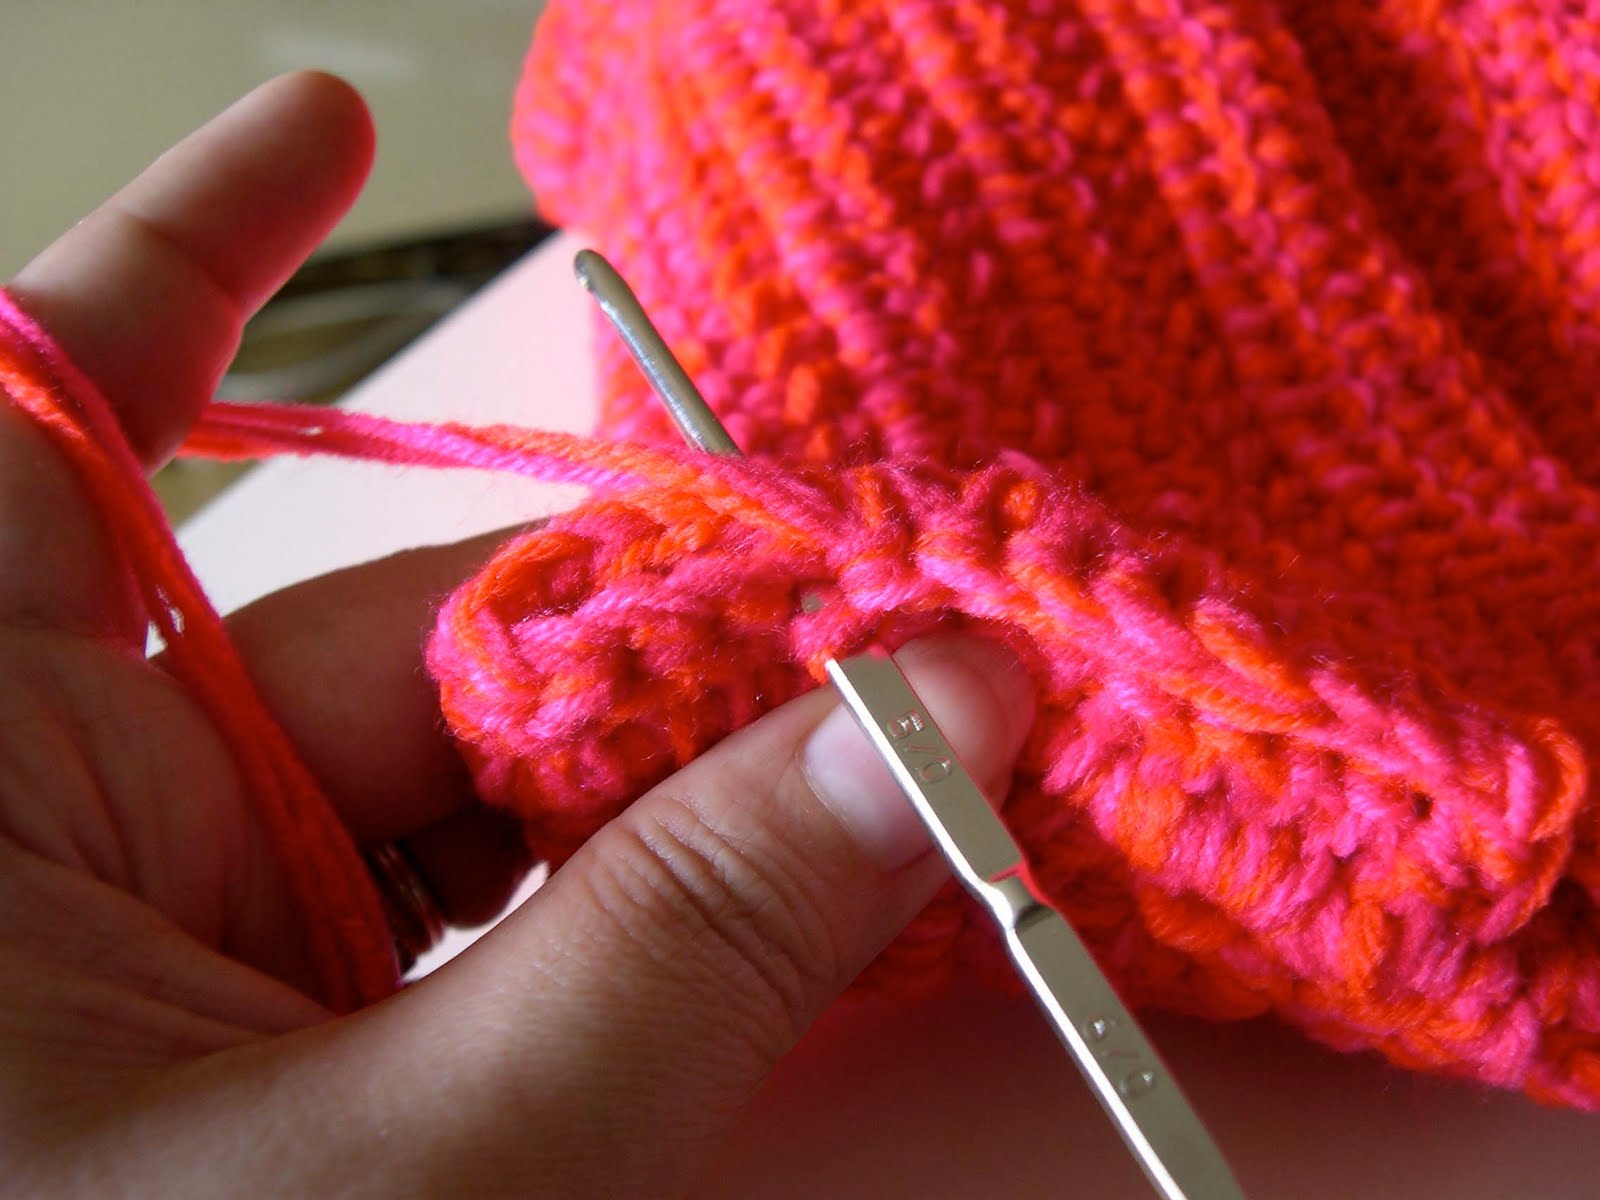 Close up of the slip stitch to secure the cover.
 Re-invert the sleeve cover and add desired buttons to secure the sides. Test the buttons to see if it can go through the gap created in your single crochet row.
 Ta-da! The completed sleeve. Now to embellish...
 See what I mean when you need to invert the sleeve to secure the cover. The corners are rounded instead of pointed.
 A zen-like quality. I thought stacking up these buttons was most relaxing.
  I tried a few combinations.
 Decided to use some felt flowers.
 Finally embellished!
 A peep inside. It's an easy peasy weekend project! Makes a great Christmas Pressie too!!