Wednesday, August 27, 2014

CANDYLICIOUS BOWTIES | Props for Uncle Jon


Uncle Jon & Auntie Gin taking a lovely selfie. LOL! He picked a candy cane striped bowtie. So cool for a VP!!
I've totally neglected to blog about so many things, so bear with me as I catch up to the missing three months! First up, Uncle Jon needed some bowties for his team to wear for his office annual dinner and the theme was Candylicious, so here's a simple tute on making one of those pin on ties that are totally not your conventional ties. I've had so much fun doing these.

The bowties were made from one gigantic piece of material I've stashed aside for a fun project. The rainbow effect on the material made my job easy peasy, since all you need to do is cut a long strip off it and you have variegated colours all the way.

The best thing about this, is that you'll never have the same colours on each piece. How about that for originality!?

I did a sample with this shiny material. As you can see, the bow tie has 2 main body pieces. I cut one wider than the other so that the top piece is slightly smaller. The bigger piece at the bottom will be visible on the sides. I also ironed interfacing for the bottom bigger piece. This will ensure your bow tie is sturdier.

Inverting the bigger piece with the interfacing can be a real challenge. So use a pincher plier but please clean it first!

The inverted pieces. The joining is at the centre so that it will not appear on any sides of the bow tie. I left the opening at the centre for the inversion. No need to seal these as the middle part of the bow tie will cover the hole anyway.

Gather the two pieces together in neat folds. Making sure you have one tidy hill in the middle.

Hold on tight and start sewing the middle together. This is done by hand!

Because you are sewing through many many layers of fabric, the pincher plier works wonders here.

There!


Now for the middle part. I made tubes from the long strip of cloth I cut just now for the main body.

Some mix and match. Quite therapeutic.

Here, you'll notice that the bottom piece is slightly larger than the top piece. The colour peeking through makes a lot of difference. So give the top piece half a cm more.

The tube for the middle.

Slipped on to slide to the middle.

It looks loose here, wait, we're not done yet. Some hand sewing is required after this.

I use these alligator 2 prong clips, initially for hair bows, but these clips are wonderful to use. Just slide the middle through the collar button and it holds very well. You don't even feel it.

Getting there, but not done yet...

With the alligator clip in place, now I hand stitch the middle so that it has that natural knot of a bowtie. Brilliant, no!?

Ta-da! I love it when they all come together. So yummy looking!!!

This is for a girl colleague. I used the same strip of fabric and made a cute corsage. All in the same candylicious theme! It's one of those simple ribbon roses that you twist and fold and secure to a felt backing. Handsewn it all together and have a little netting for a softer effect. This is with a pin and hair clip sewn together at the back. In case if she wears it on her hair or jacket for that night.

I delivered this in a box with individual black card stands.

Candylicious!


Tuesday, May 27, 2014

BOOKMARK EXCHANGE 2014 & ANNIVERSARY GIFT

Cake, anyone?

Here's how I made the Bookmarks for Margaret for one of our annual exchanges.

Always start with a draft. Sorry about the photo quality, did this very late at night.

A little graphic design knowledge can help a lot. The templates printed out as cutting and sewing guides. I am using Heat & Bond to fuse my fabric to felt.

Select your fabrics. I used some of the jelly roll leftovers I kept aside.

Place the template over the cloth to measure how much fabric and Heat & Bond is needed.

All ironed and set.
Once you have the template cut and layered accordingly, place on felt of your choice.

I used some kitchen twine from Daiso. Measure your twine to your liking. Tie knots on each end.


Begin sewing individual cut fabric onto the felt. Don't forget to insert the twine. That is part of a bookmark! LOL!


Sew the other end piece to the matching bookmarks and Tada! You can opt to use ribbons.

Here's the whole set.

I'm a little teapot!


Inspired by our Dearest Beloved Friend Janet!
All packaged with a printed label.

Hope you like them MW!

ANNIVERSARY GIFTS
The Fish for the Fish challenge.

It's a little snap purse. Constructed him as I went, so no template for this fish. Decided to add a crochet trim for the mouth the very last minute.

All the handmade goodies in a box + extra things to make any crafter do a happy dance. LOL!

I made this pouch from an oil cloth I bought online. The heart-shaped pom pom is handmade too.


A little macaron zipper pouch. Love the front! See the wee little buttons?

Handstitched most of this!

The back is a little felt cutout with the tiniest button and bow attached.

Ah! It's a little needle and stash keepsake purse.


Monday, April 28, 2014

NNC 7th ANNIVERSARY | TEA WITH FRIENDS

NNC Members who attended the annual meet.

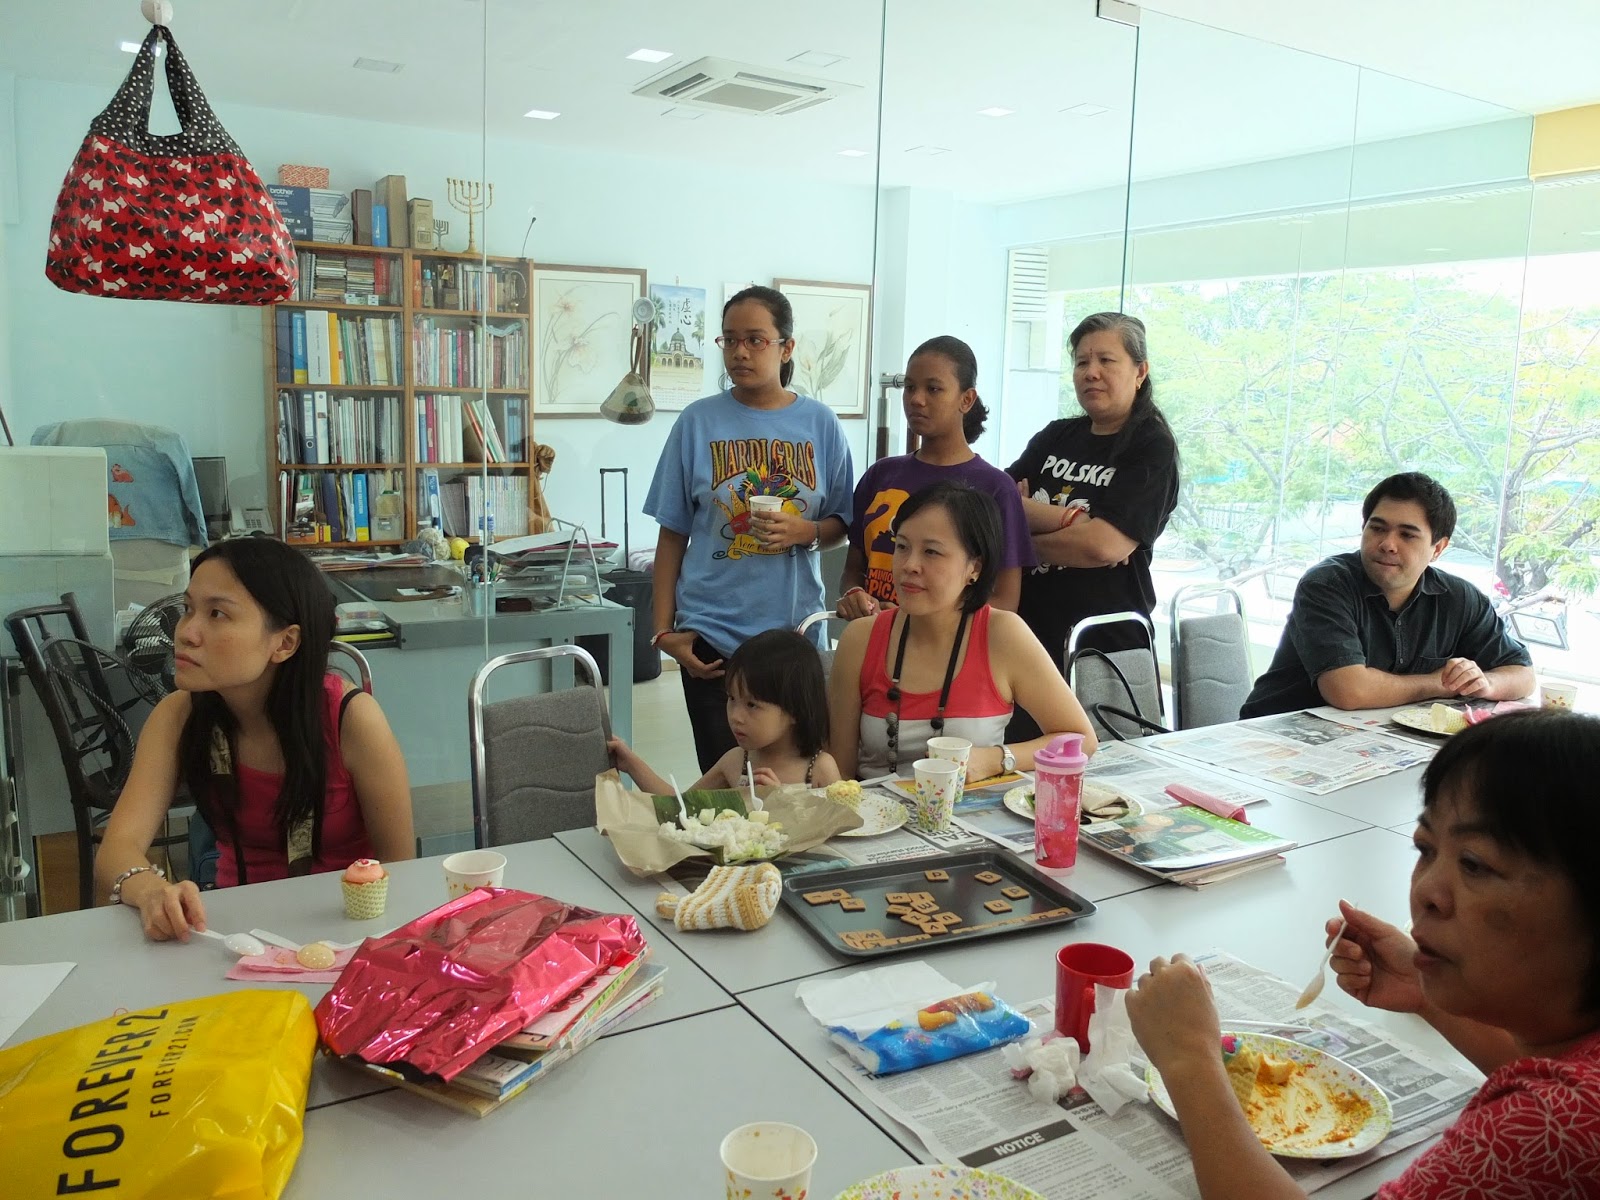
It's the annual meet of our crafting group for 2014. Yes, we are 7 years old!!!! See what fun we had...
The Annual gift exchange.

Guests arriving at Yee's Button. We rented a cozy place above this wonderful crafting shop in PJ.

Gave Margaret the Bookmarks I made for a separate exchange. We organise many exchanges and in many themes. Do join us for great fun! Will post about this next.

Soon everyone arrived just in time.

Lots of photo taking.

This was a birthday exchange from Sally to Radha.

Another book exchange here.

A squirmy bookmark.

With book included!

We browsed and took home books generously donated by our beloved friend, Janet. We miss you and will always think of you when do our many many crafts.

Usha sorting and going through the hundreds of books and magazines.

Nik also brought some lovely zipper pouches for sale. I bought one too for my mom.

Vivian's little shoppe has everything I want to buy!

Buy some Margaret!

Bought these Modkid and sock monkey for gifts as well.

Handmade and brilliantly made!

Love these fridge magnets!

Beautiful handmade cards.

A mini conference going on.

Paul looking amused.


Exciting day for friends to meet up and chat!

More browsing and selecting.


Cupcakes anyone???


Our little buffet.

Yummy currypuffs.

Enjoying our food and listening to a small presentation by the shopowner.

Ehemmm!


Amigurumi class anyone?


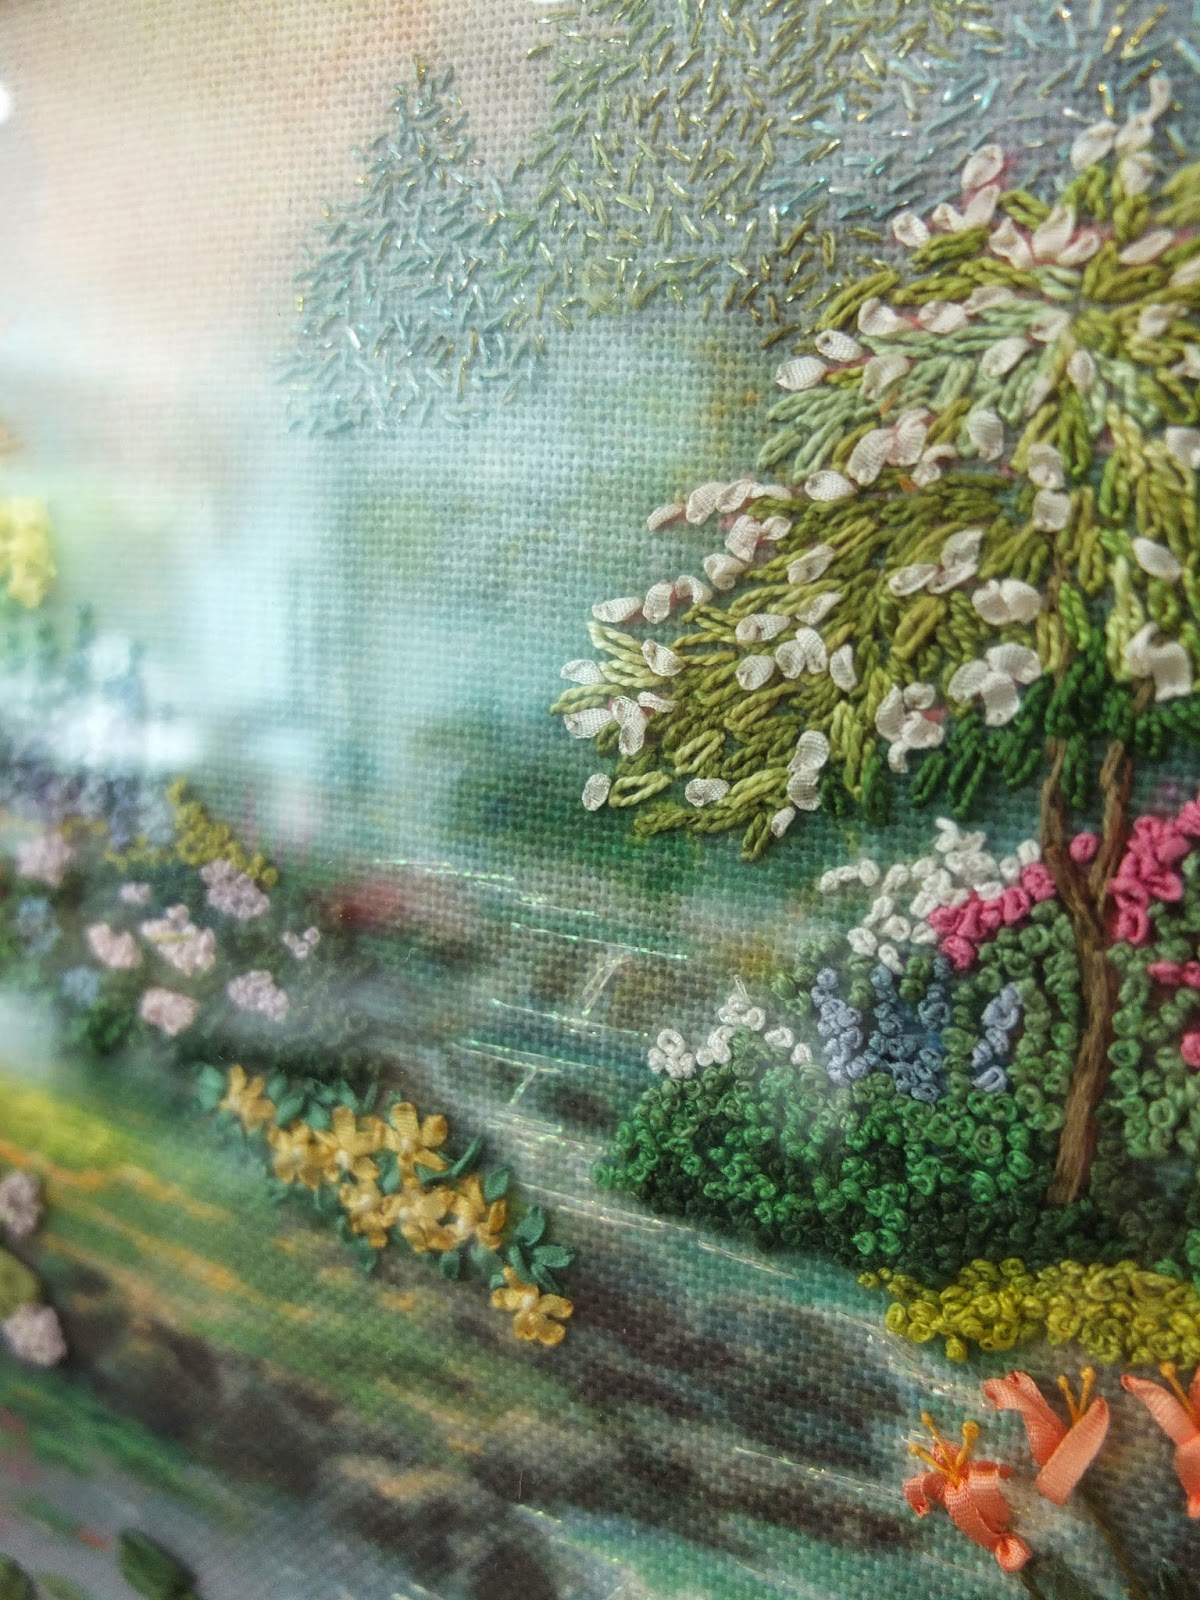
We were surrounded by beautifully crafted needlework. So inspired to start on new projects!

Browsing through some of the courses available at Yee's Buttons.

Look at all the stitching.
The little people had a craft session with Margaret.

Making peg dolls.

Looks like the adults also want to join in.

Little Aerin taking part. She's our youngest member yet!

Nik, giving out goodies to the kids.

Usha's girls! They are so grown up already.

Zarina giving some quilting tips! She's our Queen of Quilts.


Fishing for the Annual gift exchange.


LOL!

Radha received from Usha.


Usha received from Vivian.


Vivian received from Margaret.


Margaret received from Nik.


Nik received from Radha.

And Bee Ee received from Me! Lol! Look at that glee on her face.

We have several lucky draws that day.


The goodie bag! Nik explaining what and who we received from.

Some items are delicately handmade. Thanks everyone who contributed.

Radha won a lucky draw for the fish challenge.

Winning prize! We love fat quarters!!!


A handmade gift for Zarina for the quilt she put together for Janet.

More gifts!

SEE YOU ALL SOON!!!!